Xcut Xpress and drypoint experiment
During lock-down I tried a dry point printing by hand using a wooden spoon. I found it very hard to get a clean and consistent print with this method . I had seen people using the xcut Xpress craft die cut press as a printing press on line. When the Range had some in stock I ordered one straight away as they are hard to get. Also I had seen people say to get a blanket and a board extender made from many different things like a big chopping board ,MDF ,table protection, under felt. But as I was still stuck at home. I decided get a kit from hand-printed shop, which is made for xcut and fits perfectly.

I tried with traditional oil based relief inks was difficult even when it was thinned down. Clean up is also hard as it is a messy process rubbing the ink in and ink goes every ware . So bought myself a Akua Starter Set which is soya water base intaglio ink. This much easier to use and cleaning is much quicker. Which good when you have time constraints as children. Also as the ink has a long drying time you start work ink up take a brake then come back later to print later.

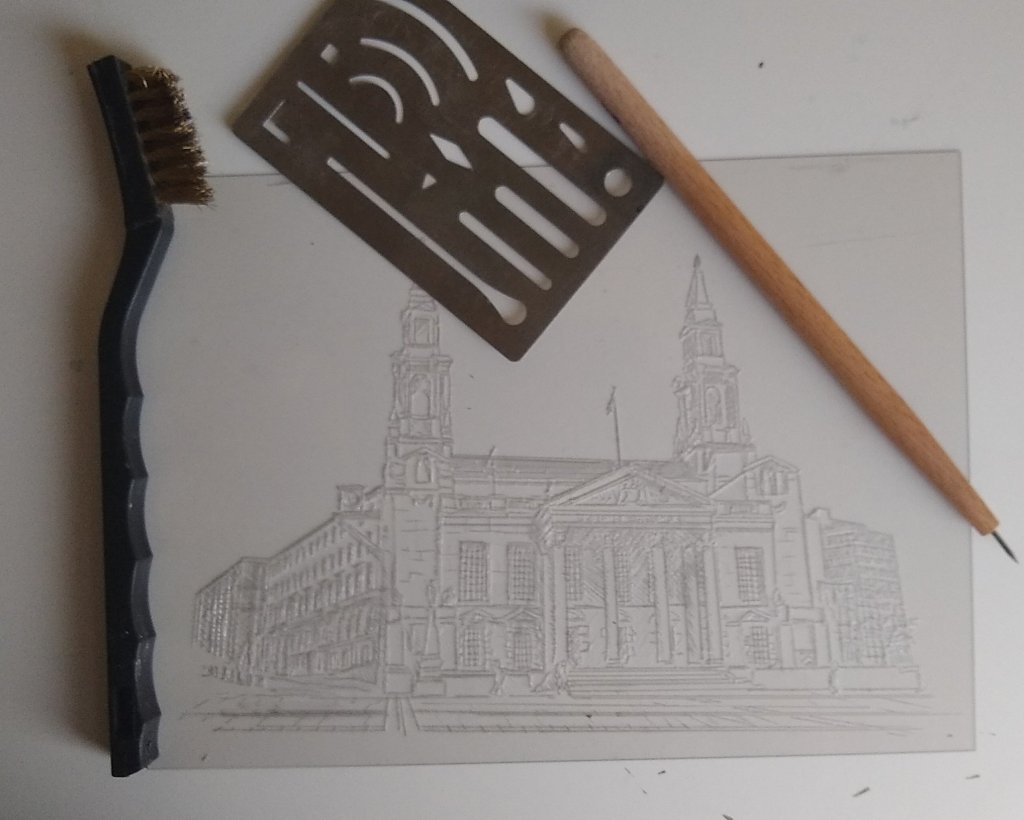
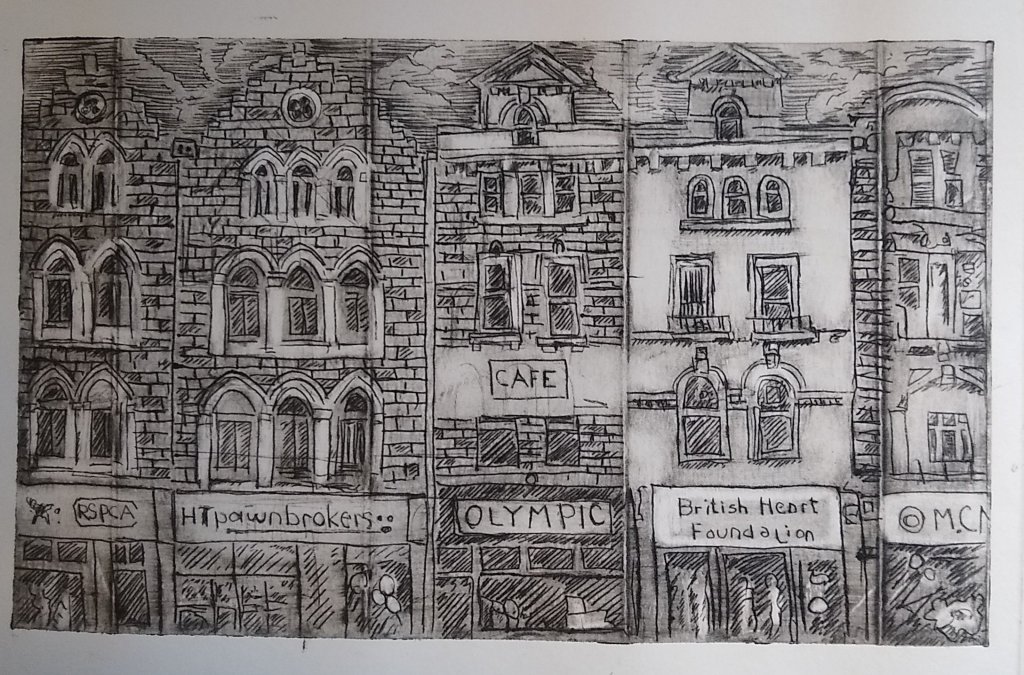
Material and tools I stared with Rhenalon Plates which is clear plastic and Abig Etching Needle, 1.5mm fine tip for lines and crosshatching. Then began experimenting with sandpaper abrasive Dremel tools and wire brushes to crate texture and shading Also using sellotape and metal eraser template as mask add texture. Experimening with recycling using Tetra pack from soya milk carton and takeaway lids and same drypoint techniques.
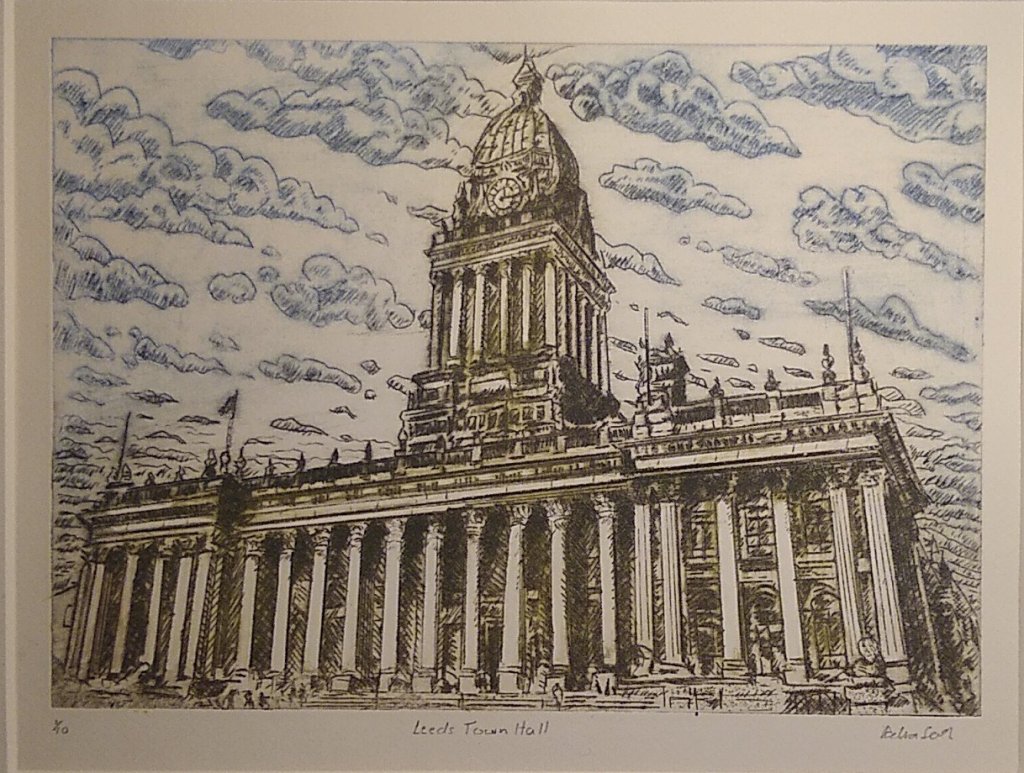
Started experimening with mix colour and putting black down first and wiping most of ink off the putting second colour over top but not wiping all of it off. Creating highlights using a cotton buds making clouds using scrim mixing mono printing with dry point This opens the endless world inking
Working with different paper these are some paper I tried Kent Paper 170 gms Snowdon Paper 300 gms Gerstaecker No. 2 120 gms , Fabriano Accademia Drawing Paper 160 Gms fabriano Tiepolo Printing Paper, sheet, 130 gsm Also the preparation for dampening the papers needs more work. Currently I am just spraying the paper both side and blotting it off with news print. It has about 5 min before I print some time less and some are possible to wet .
Started think about how to make these print saleable. Had realise that prints were a bit wavey Even when they were press in-between some big books. I have take to respraying them and repressing them individually in-between plywood with pile of books on top. This seems to do the trick and gets them flat enough to mount them
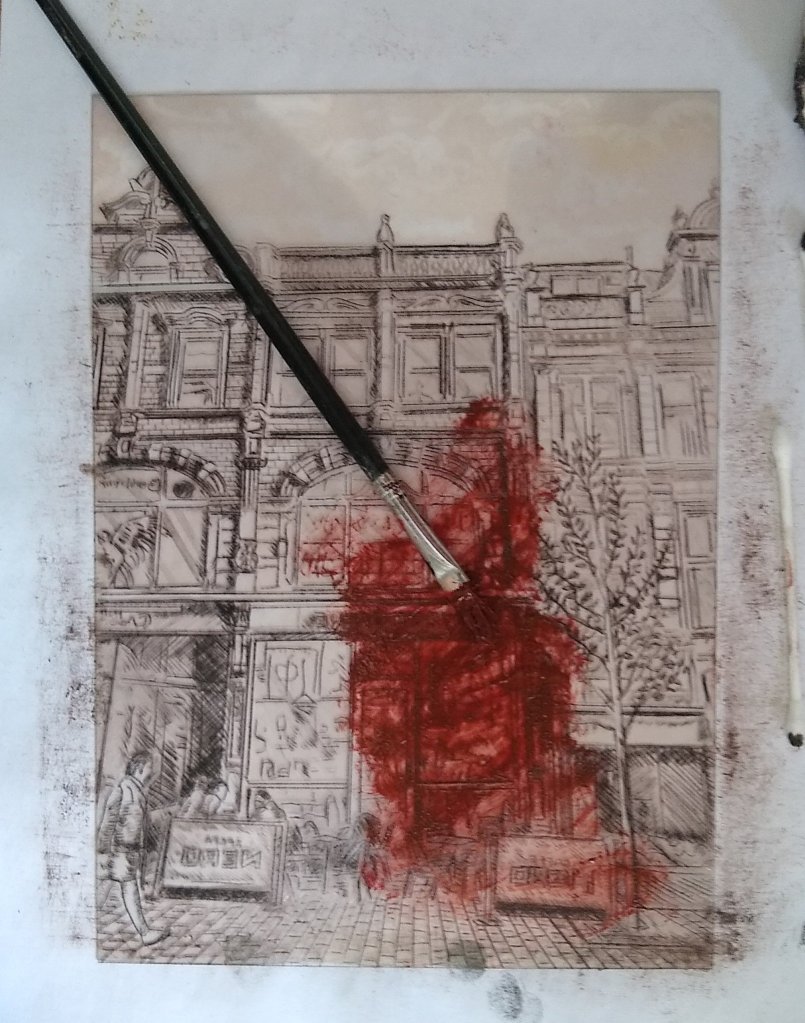
Showing some process rubbing in the ink into plate using old paint brush. Then wipe off with a scrim rag and polished with dish cloth
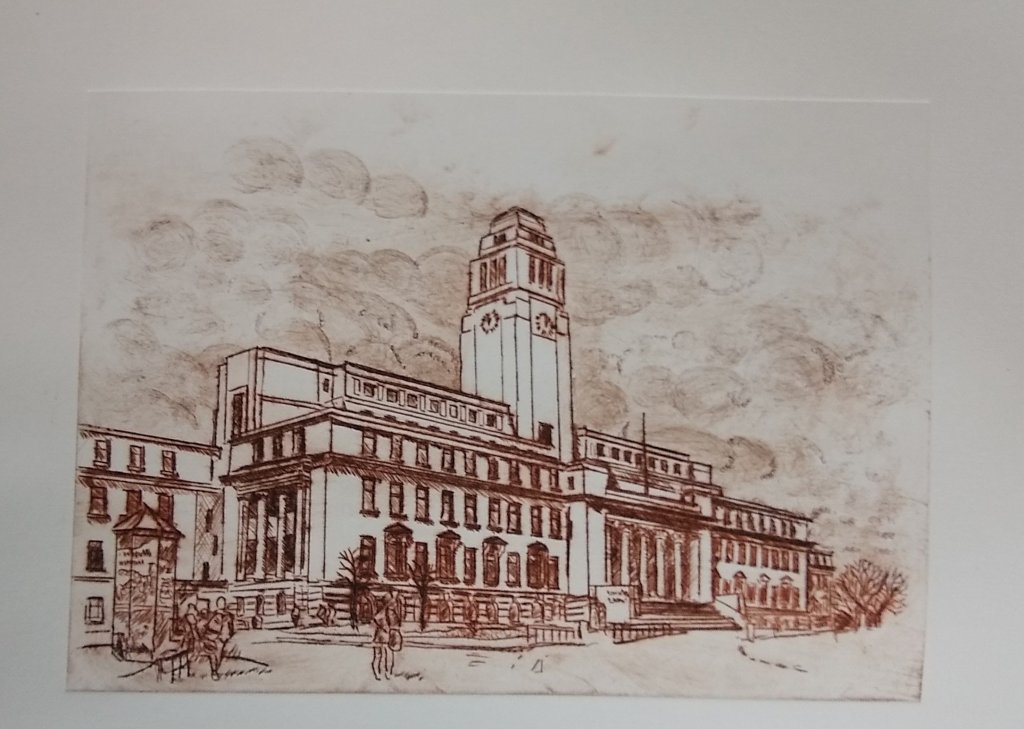
Wire brush work for the clouds
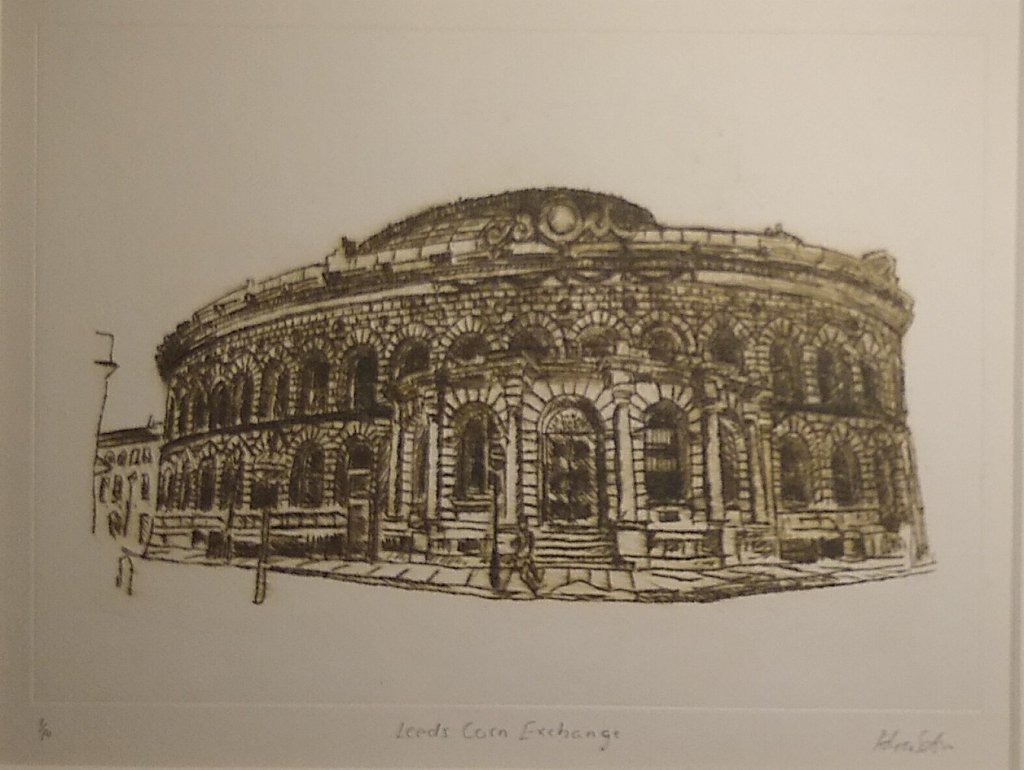
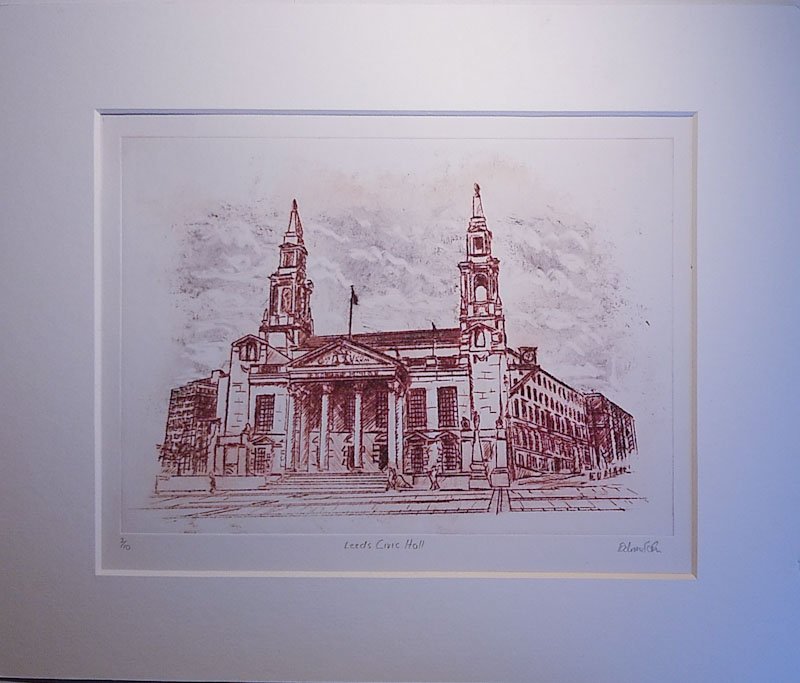
Experiment to get old sepia photo mixing yellow back and red ink

Leave a comment