Collagraph printing with Pringles
Collagraph printing is a versatile and creative printmaking technique that allows artists to create unique and textured prints. Traditionally, collagraphs are made by gluing various materials onto a rigid surface like cardboard or wood and sealing it which then becomes the printing plate. But you don’t have to do any of that. Have you ever considered using Pringles potato chips as your material of choice?
Yes, you read that right – Pringles can be used to create striking collagraph prints! The cylindrical shape and ridges of these popular snacks make for interesting patterns and textures when inked and transferred onto paper.
To start experimenting with Pringles collagraphs, you’ll need a few supplies. Gather some Pringles chips (emptying the contents is entirely optional!), a variety of tools for mark-making such as wire brushes, knives, compass , sandpaper, metal scribe or could splash out on dry-point needle . You need an ink preferable etching or intaglio ink . I am using Akua intaglio ink which has a long open time and is easy to clean up.
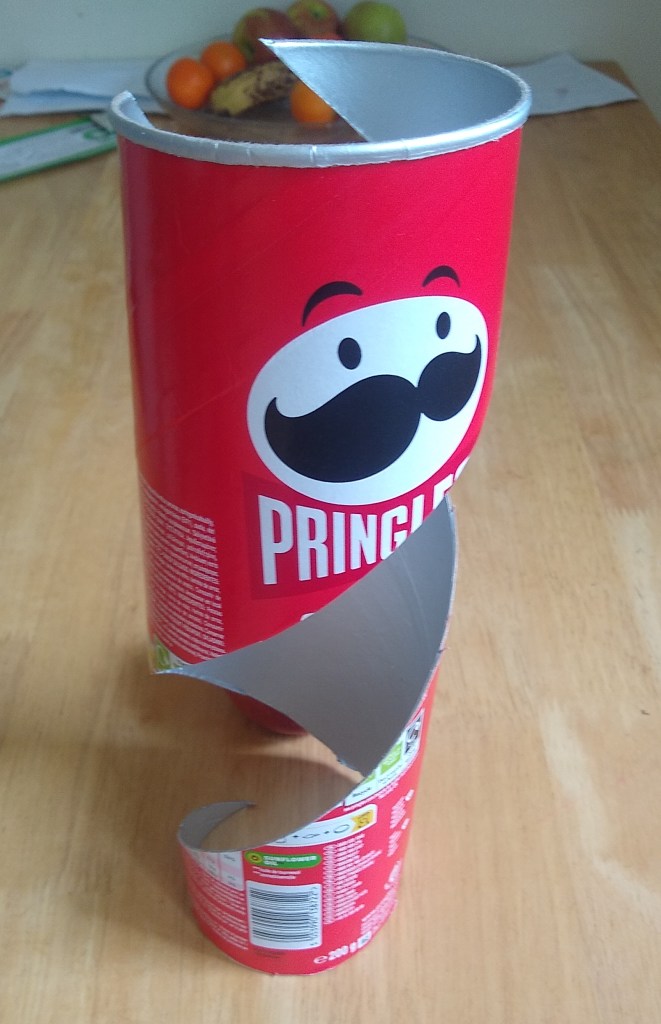
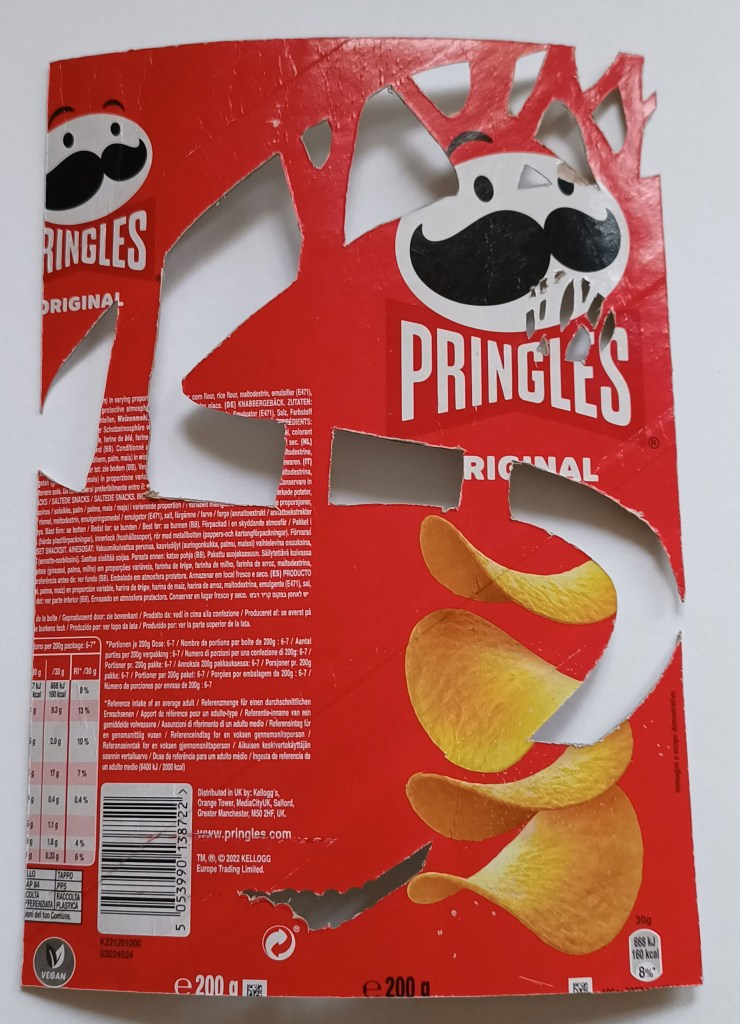
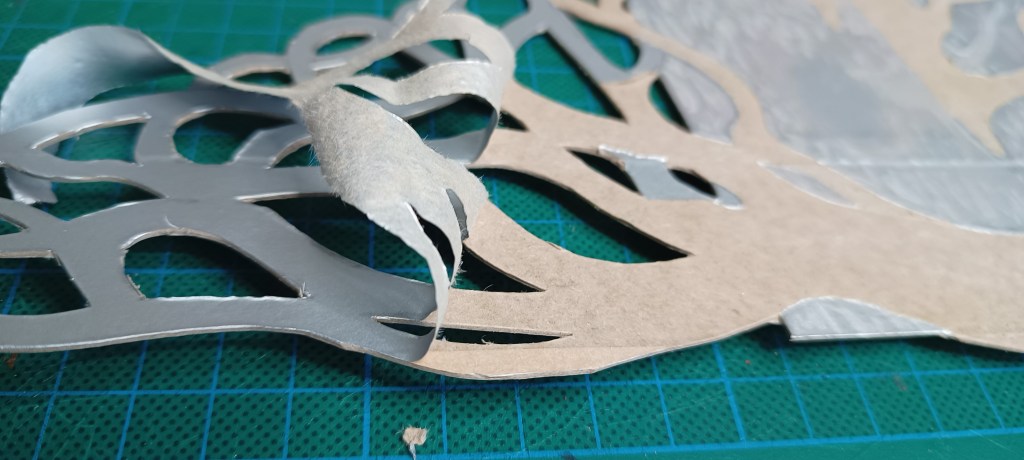
Begin by cutting Pringles tube using a pair of scissors, cut the metal end off. Then you have to decide if you follow the spiral or cut straight up You will end up with two different shape plates . I like to look a the shape or glue lines in the plate and incorporate this in the design.
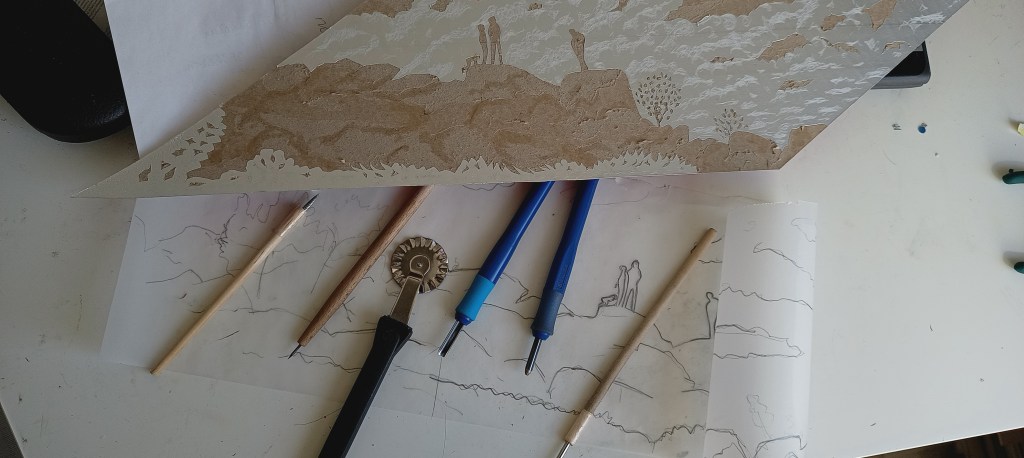
Drawer your design on tracing paper using a soft pencil then reverse the design and drawer with a hard pencil on to the pate. This will give a guide to work to. If you make a mark on the silver foil it is hard to undo.
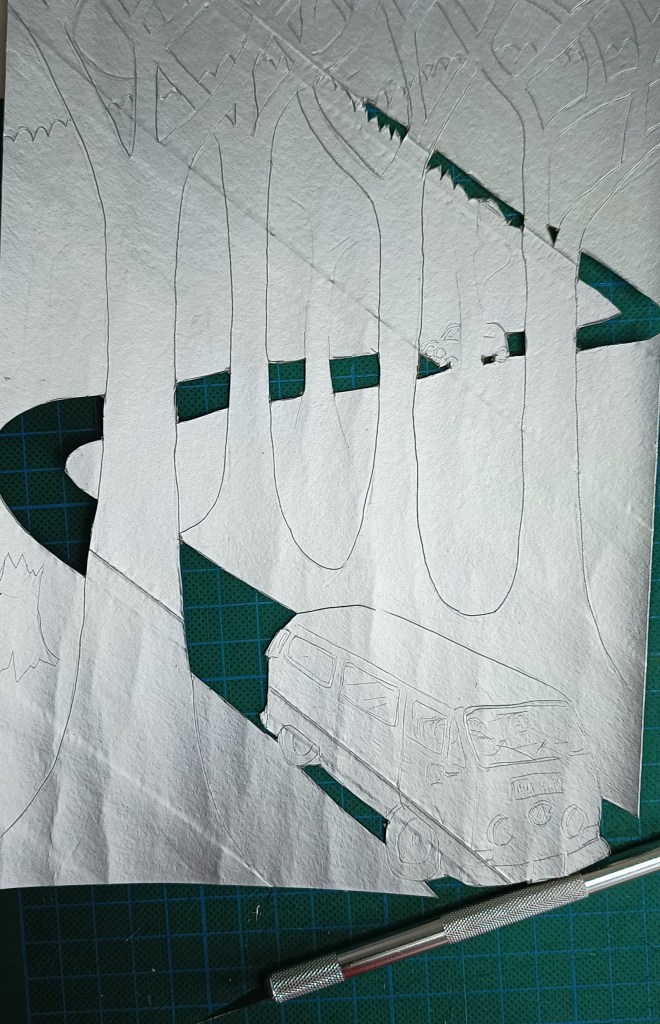
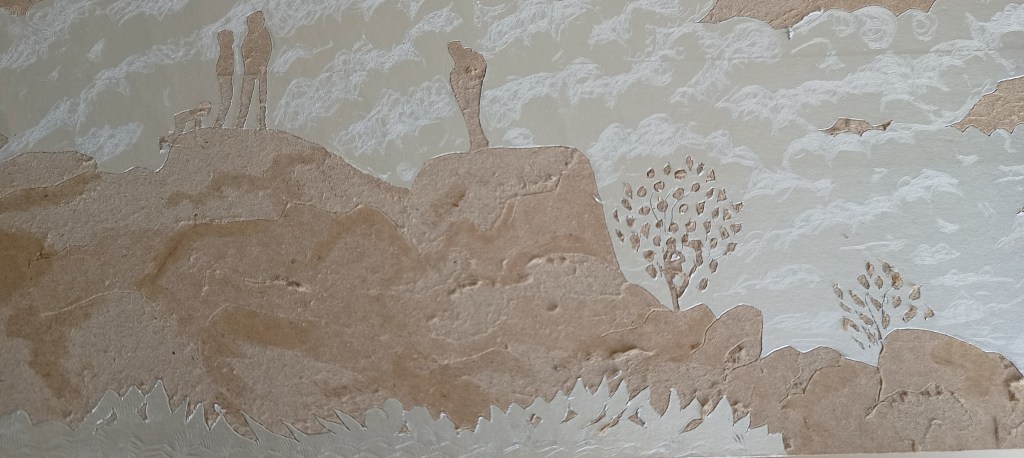
Time to pick tools if you are going to use wire brush or sandpaper I normally do this before cutting into the surface as the sliver inside may come away from the card. If you cut the silver foil to reveal the card below to create a darker section, the surface of the card is sealed so if you scratch a way more it will give a darker tone again. I don’t seal the plate as i want ink to soak the card.
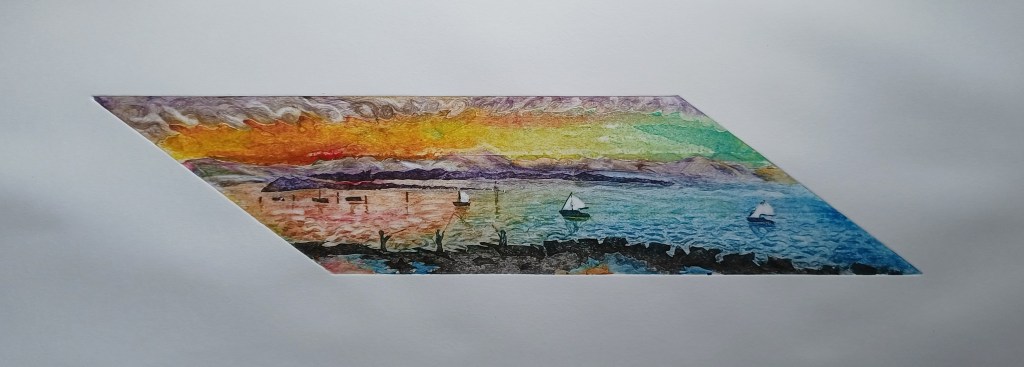
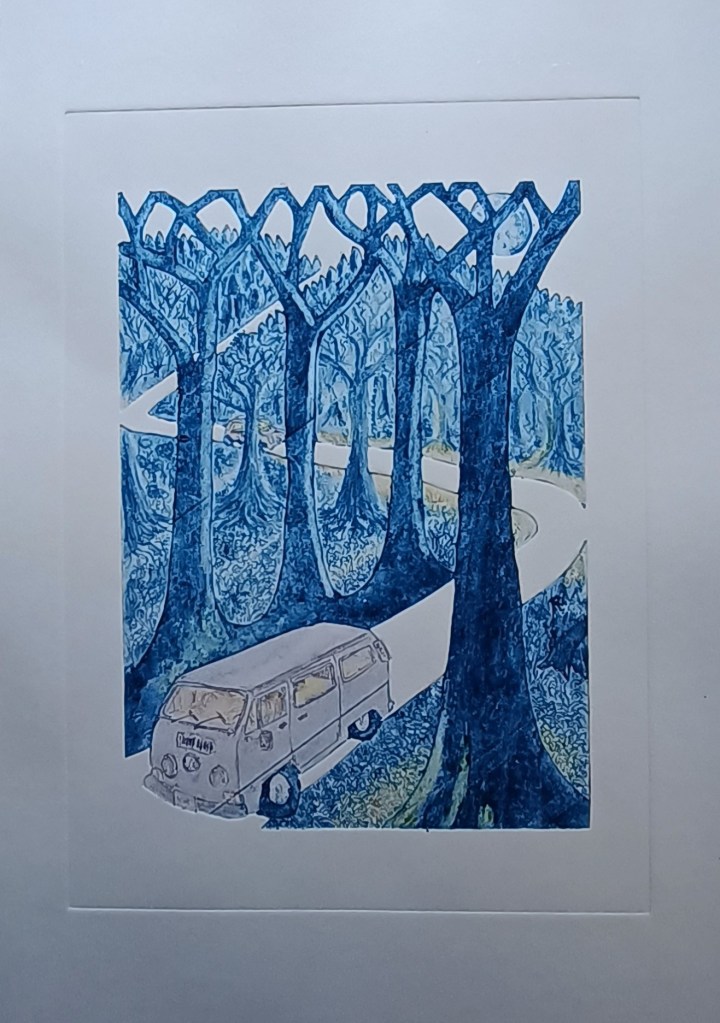
Ink up take your time and let your artistic side have fun. I normally start with the darker colours as you want these rubbed into your line and marks. Then wipe off and add lighter colours on top until you reach the desired effect. If you have removed sliver add colours to this first then carefully wipe off the sliver part then add a lighter colour to the silver part . You can use cotton buds to create highlights or cover up any mistake. Don’t be afraid to experiment with different colours, layering techniques as the possibilities are endless,
Now it’s time to print! Place a sheet of pre-soaked printmaking paper onto the inked collagraph plate and run it through a printmaking press or apply pressure by hand using a wooden spoon or a brayer if you are using thinner paper . Peel back the paper to reveal your unique Pringles collagraph print!
So, next time you find yourself snacking on Pringles, think outside the box and explore the artistic potential of these chips. Give collagraph printing with Pringles a try, and let your creativity take shape in a whole new way!

Leave a comment