


1 Prepare
Prepare the ply by giving it a quick colour wash so you can see where you cutting. After it is dry give the ply quick sand to remove any raised grain. Draw Your Image on a piece of plain white paper using a soft pencil.
2 Transfer Your Drawing
Turn your drawing face down onto the plywood. Use a burnisher and firmly rub the back of the drawing. The pencil will transfer to the plywood. You can use carbon paper or tracing paper, but remember the image is reversed. Go over the drawing with a permeant maker pen so it is easier to see and does not rub off on your hand when carving.
3. Start Carving
Place your plywood in a secure location you can use a non slip mat or bench hook so that it doesn’t slip. Always try to cut away from your hands.
You don’t have to carve too deeply. A small cut or mark on the plywood can show up on your prints It just depends on how much ink you use. I tend to carve deeply and use lots of ink as I like the textural feel to my prints. Also as I hand burnish this picks up more chatter than using a press.
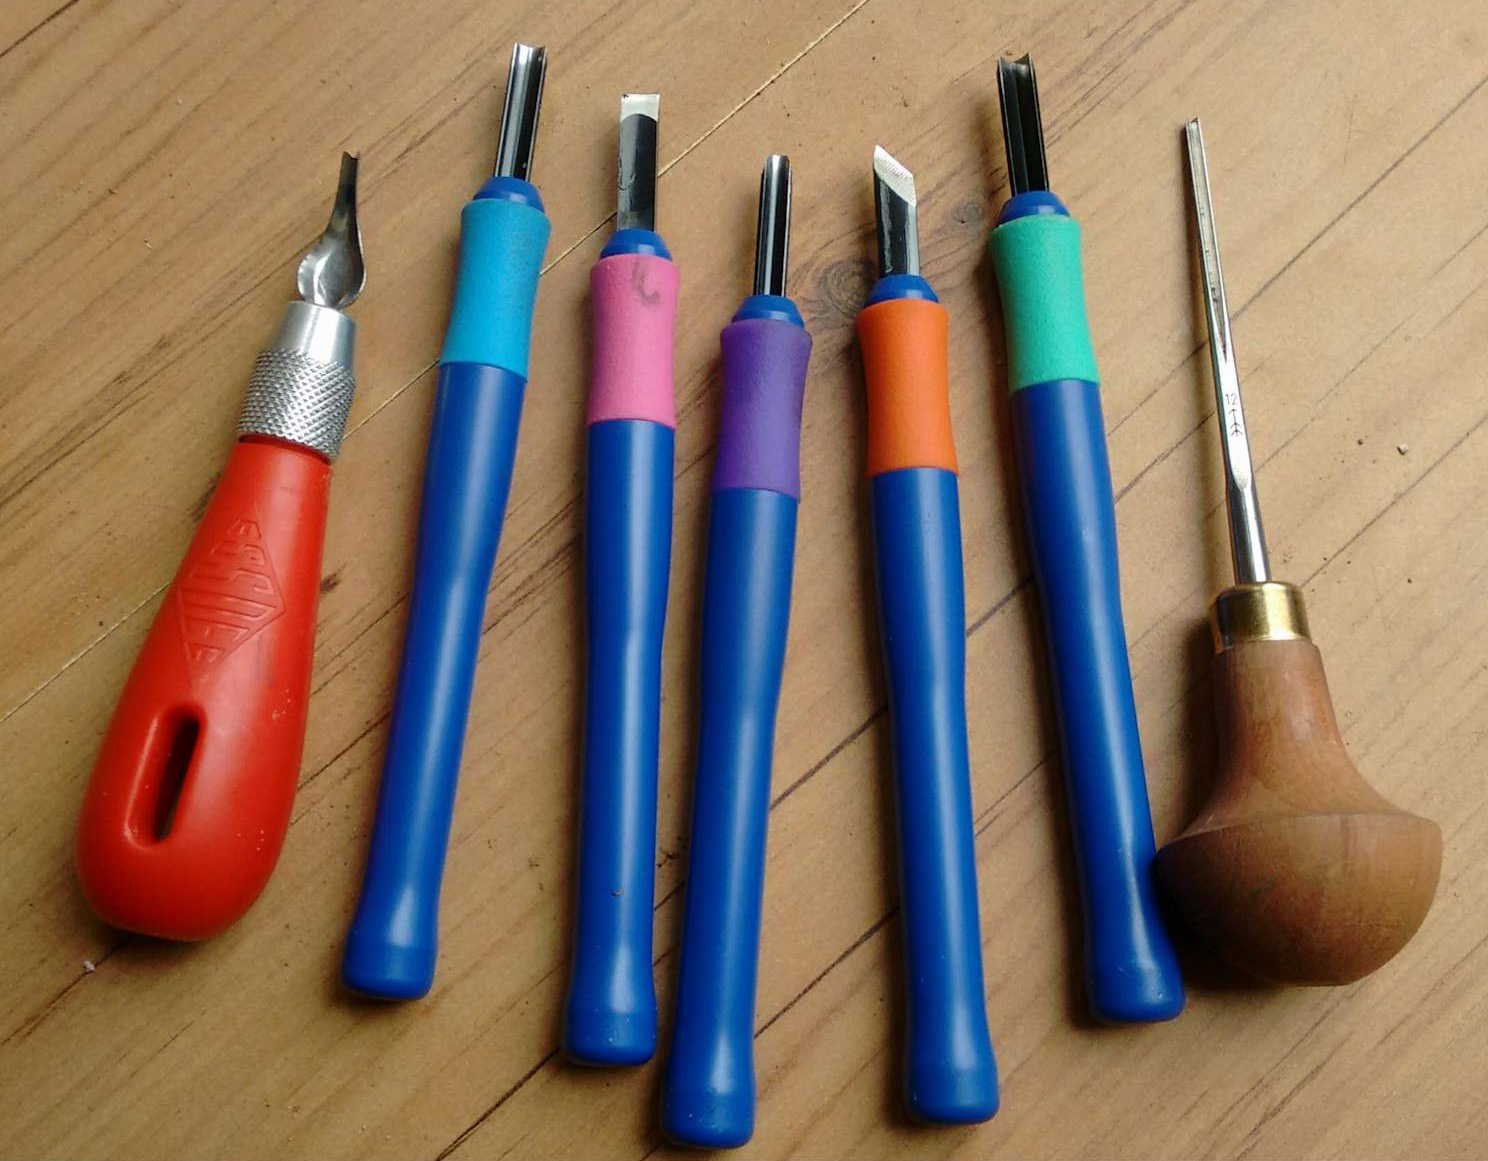
Use the V-shaped gouge to carve the detail and a larger U shaped the remove the unprinted areas. Keeping your tools sharp will give you a much cleaner edge and need less pressure to make the cut and safer to use.
Do not cut straight down into the wood it should cut at an angle If you dont, your carving will be weak and break apart. also cutting at an angle will help with ink running down the slope.
4. Proof Your Block
Once you have finished carving the plywood block it’s a good idea to try a proof print (T/P) . It is not always easy to tell how your print will turn out Some lines may need changed and the cleared areas that don’t want to print may leave marks( chatter )
Apply your ink to your sheet of Perspex . Work the ink with your putty knife until the ink is mixed and smooth and you have the colour you want. If you have the right amount of ink on brayer, you will hear a hissing sound and it will look like orange peel.
Roll the brayer onto the block moving from all four directions. Each time you roll the ink on, you will have to add more ink to the brayer . You do not need to push down to hard on the block when inking up.
5. Print Your Block
Once you think you’ve got the image carved the way you want it ,then it’s time to print. Cut your paper to the preferred size. If you’re planning on framing the piece, keep standard frame sizes in mind.
Make a registration jig to hold the block in place and hold the paper in the right position. This will help stop the block and paper moving around and will help when if you are making a second block.
Once your block is coated with ink, carefully place your paper face down onto the block. Try not to get finger prints on the paper, you can use paper saves
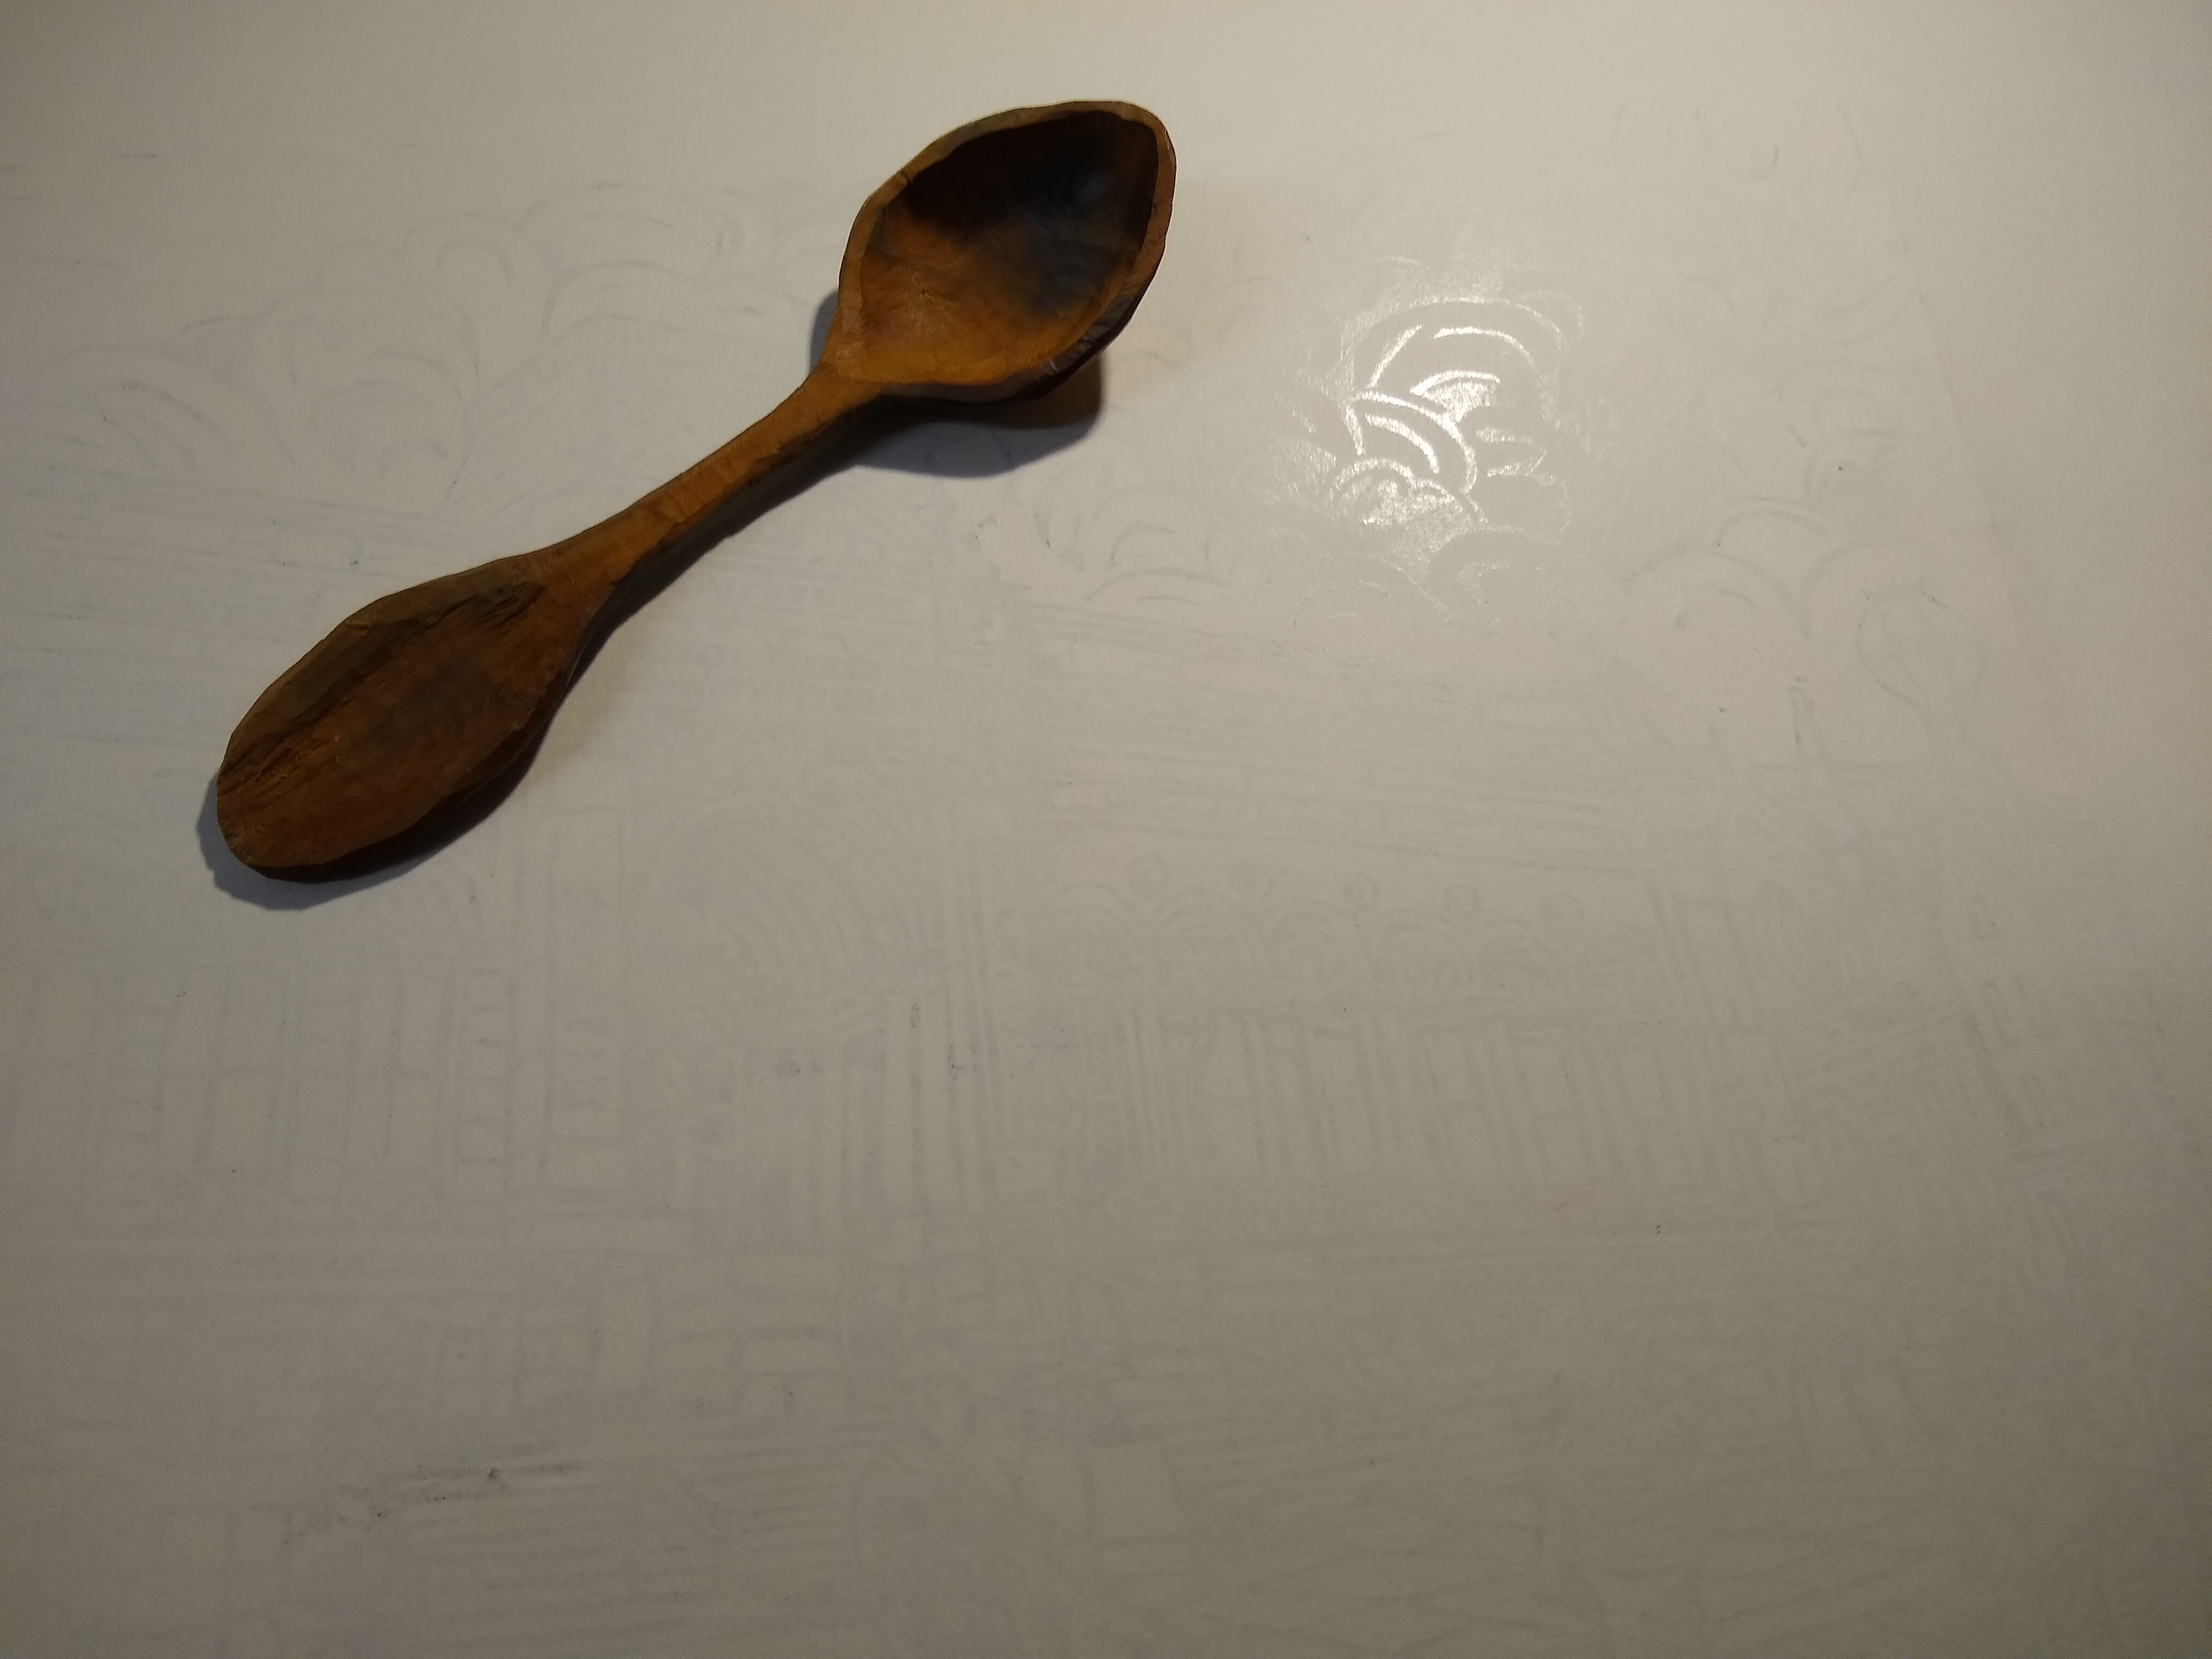
Starting from the centre, lightly press down on the back of the paper with spoon then press little harder. Keep rubbing the entire image. You will start to see the ink show through the paper. You can lift the corner of print to see if you have missed anything making sure not to move the paper.
If I am doing a second block. I will tape one edge of paper Then lift the paper up and replace the first block (key block ) with a second block. Gentle rubbing on back paper the ink will transfer to second block.
6. Allow to Dry
If I am doing a single block I will hang up the prints to dry 3 to 5 day when using oil based in without a drying agent. When using an extender it can take longer to dry. This also depends on the weather if it is warm and you have a nice breeze they dry faster.
If I am doing a second block, start the process all-over again
The last step is to clean up with vegetable oil and soapy water. You should roll off as much ink as possible and scrape up as much ink as you can from the ink plate. You don’t have to clean the woodblock, as you can do 2 to 3 ghost print this will remove most of the ink and you get some more interesting prints.
