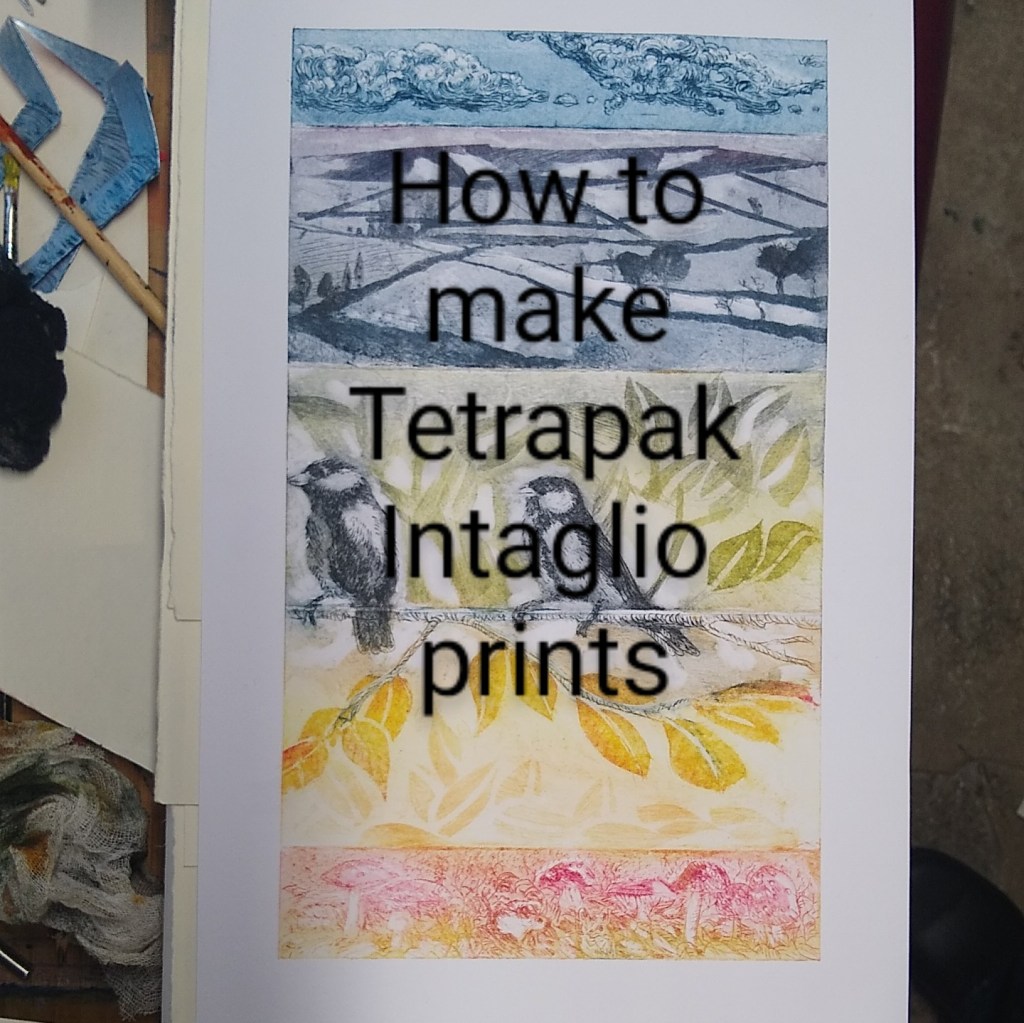
During lock down I was looking for more environmentally friendly ways to make print. I was already using Auka intaglio soy based ink and using the smallest amount of ink possible on the dry point. So i began the adventure into recycled materials like orange juice and soy milk cartons. These are Tetra Pak which has a silver coating on the inside of the carton and is very good for mark making.

Also you can also use takeaway lids, cd, smoked salmon packaging, pringles anything that has a silver, shiny or waxy surface.
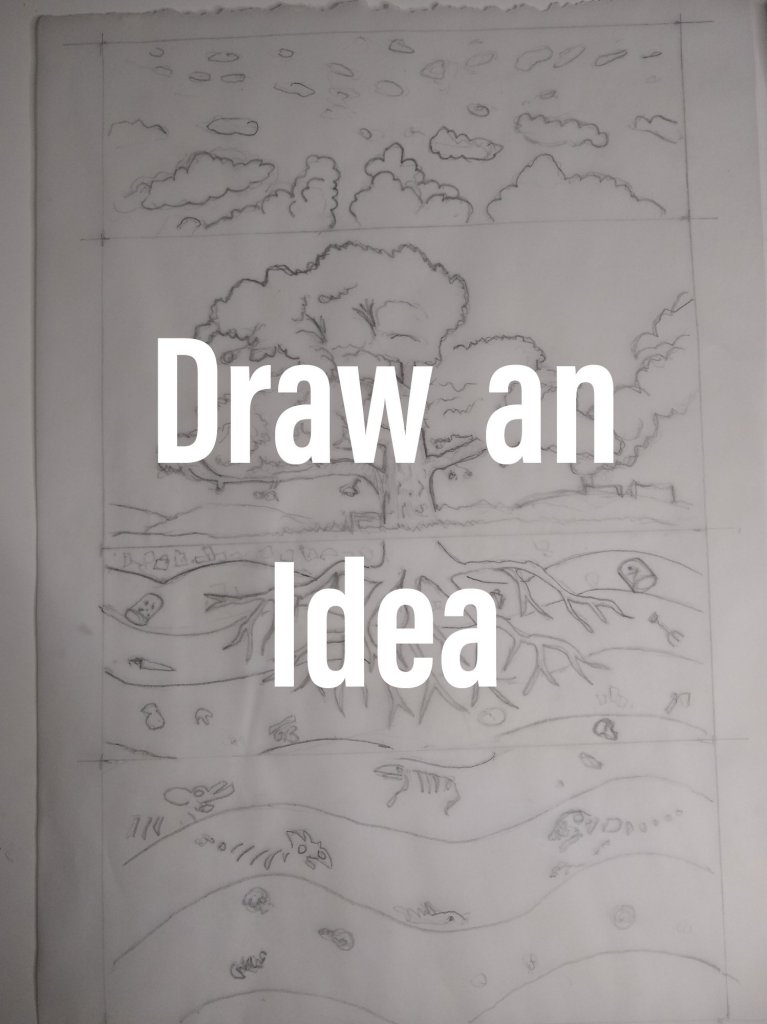
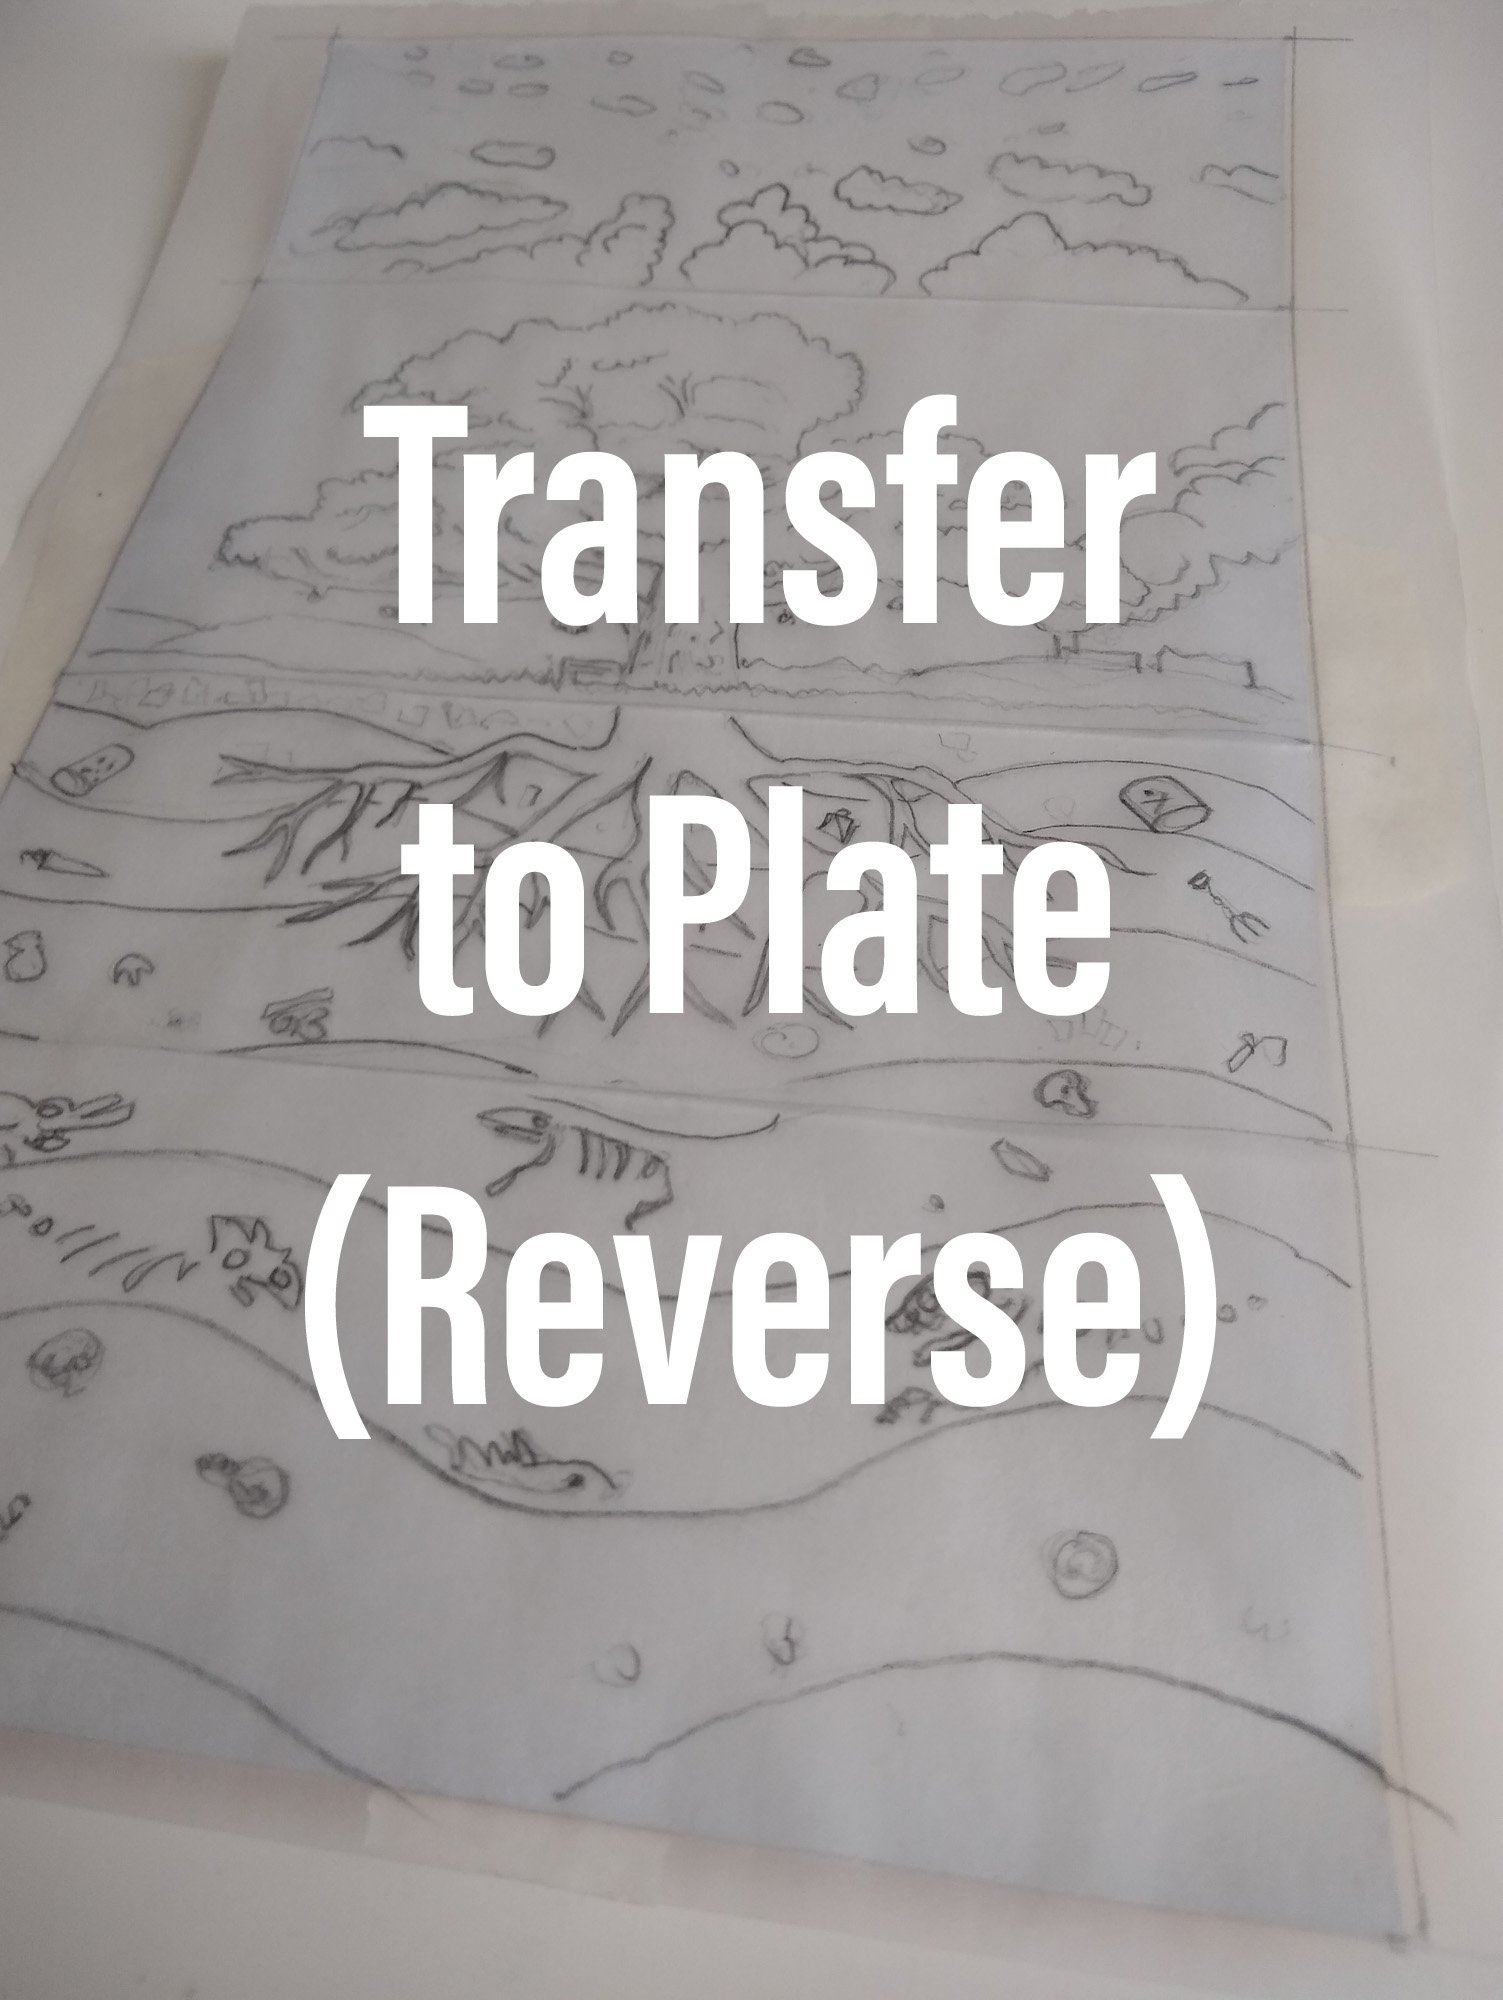
Transfer
Drawing your ideas in a book then transfer them via tracing paper to your choice of recycled material. Use soft pencils then turn the tracing paper over so your design is reversed then use harder pencils to copy to the plate
Tools
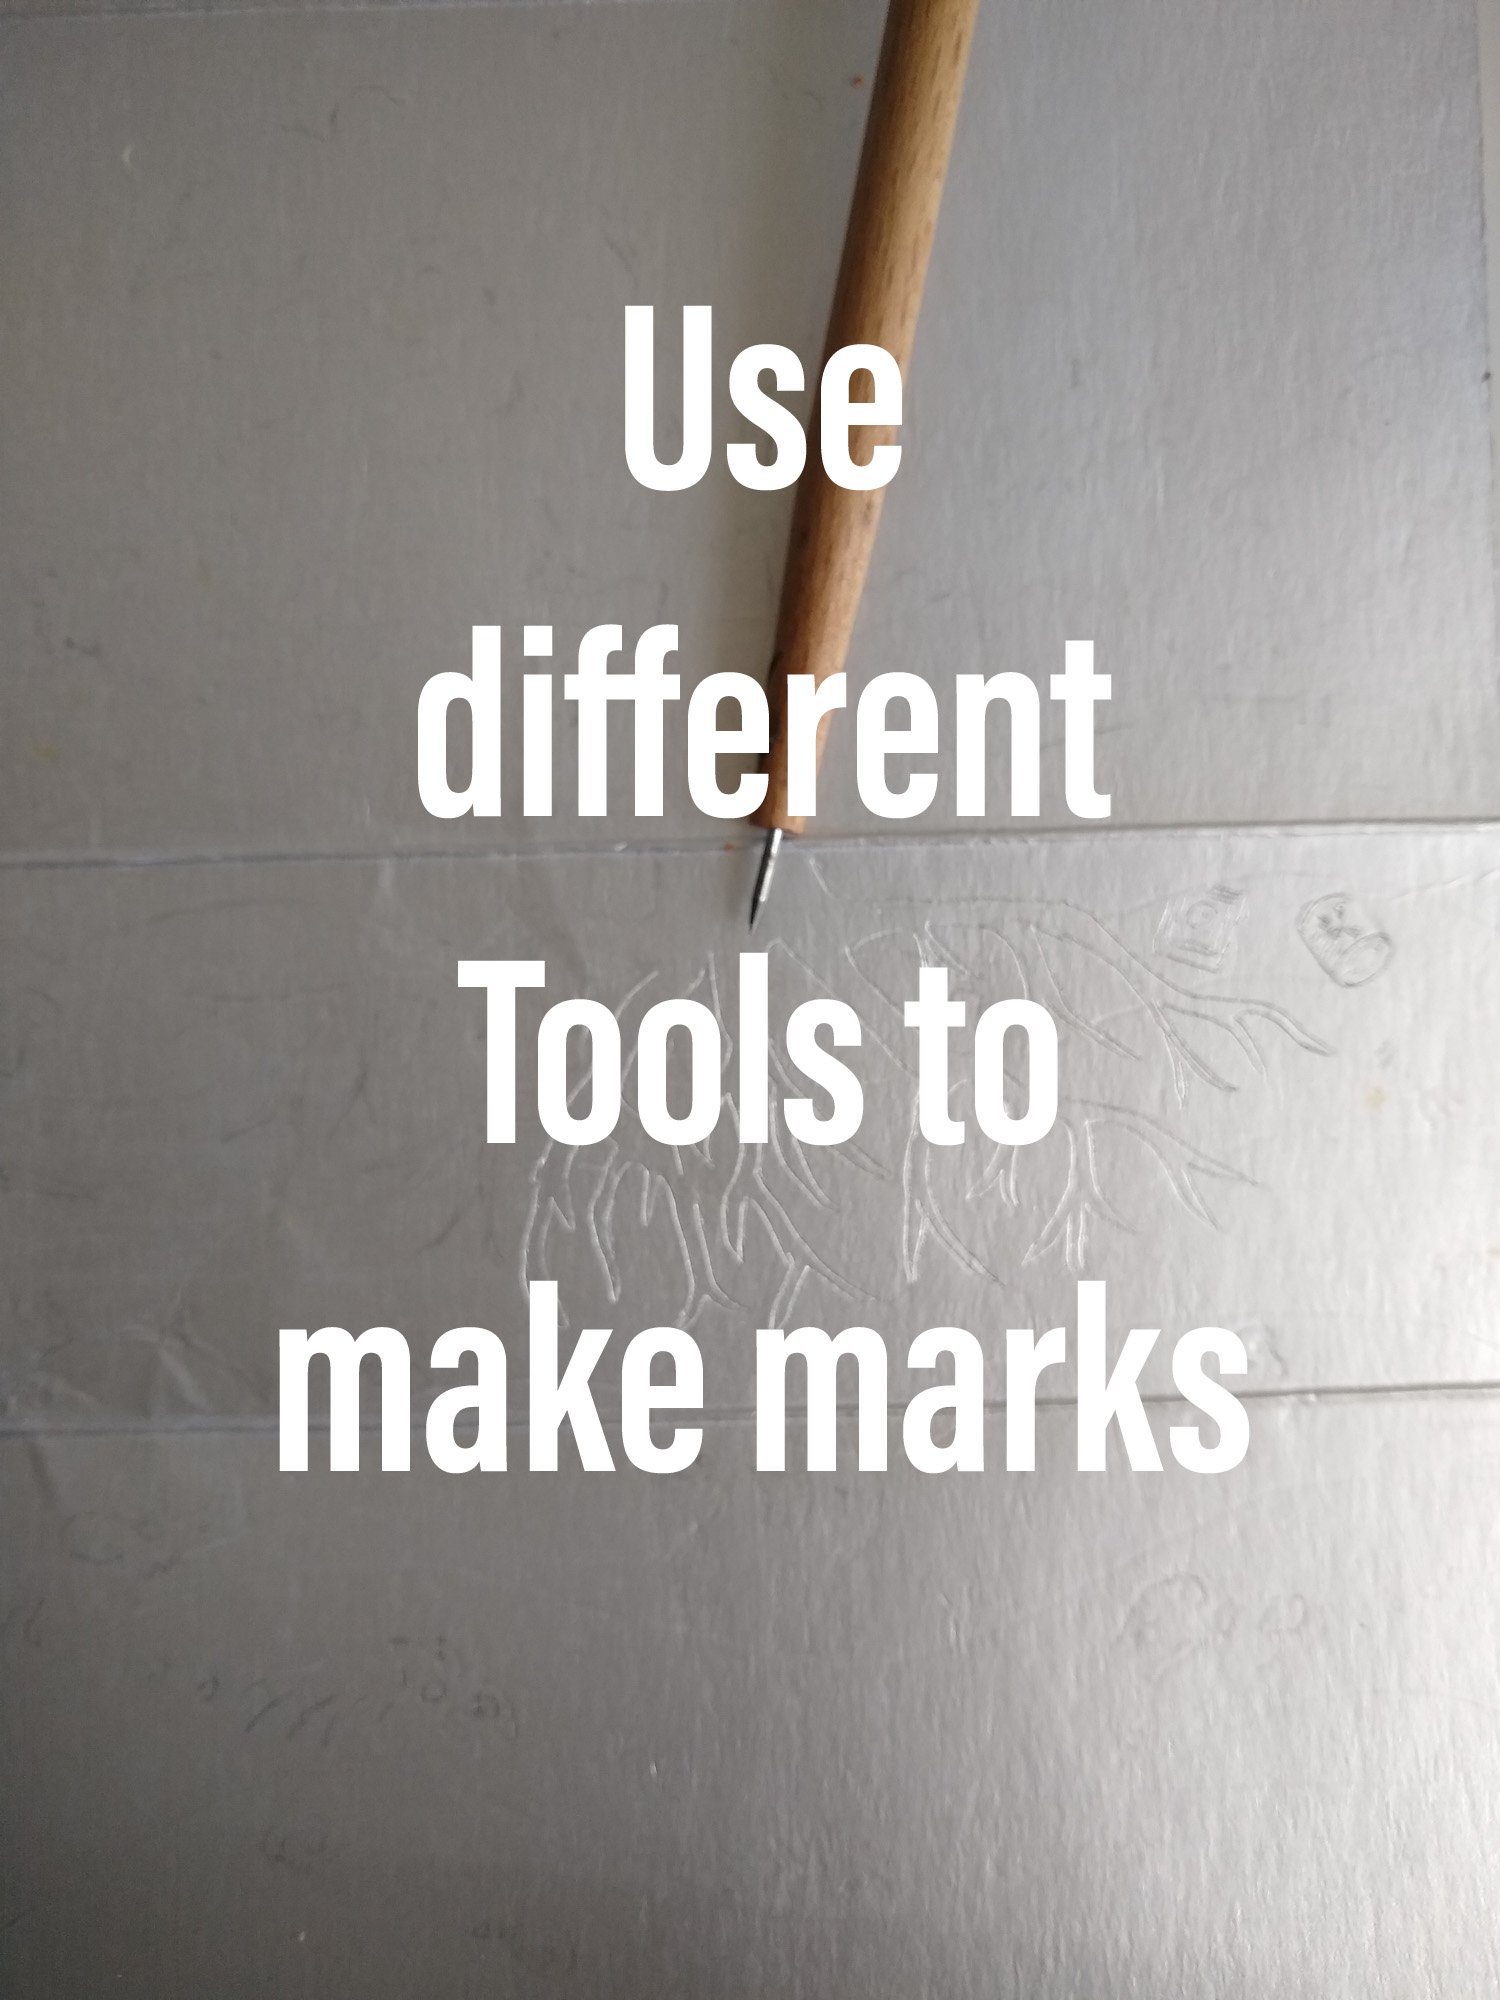
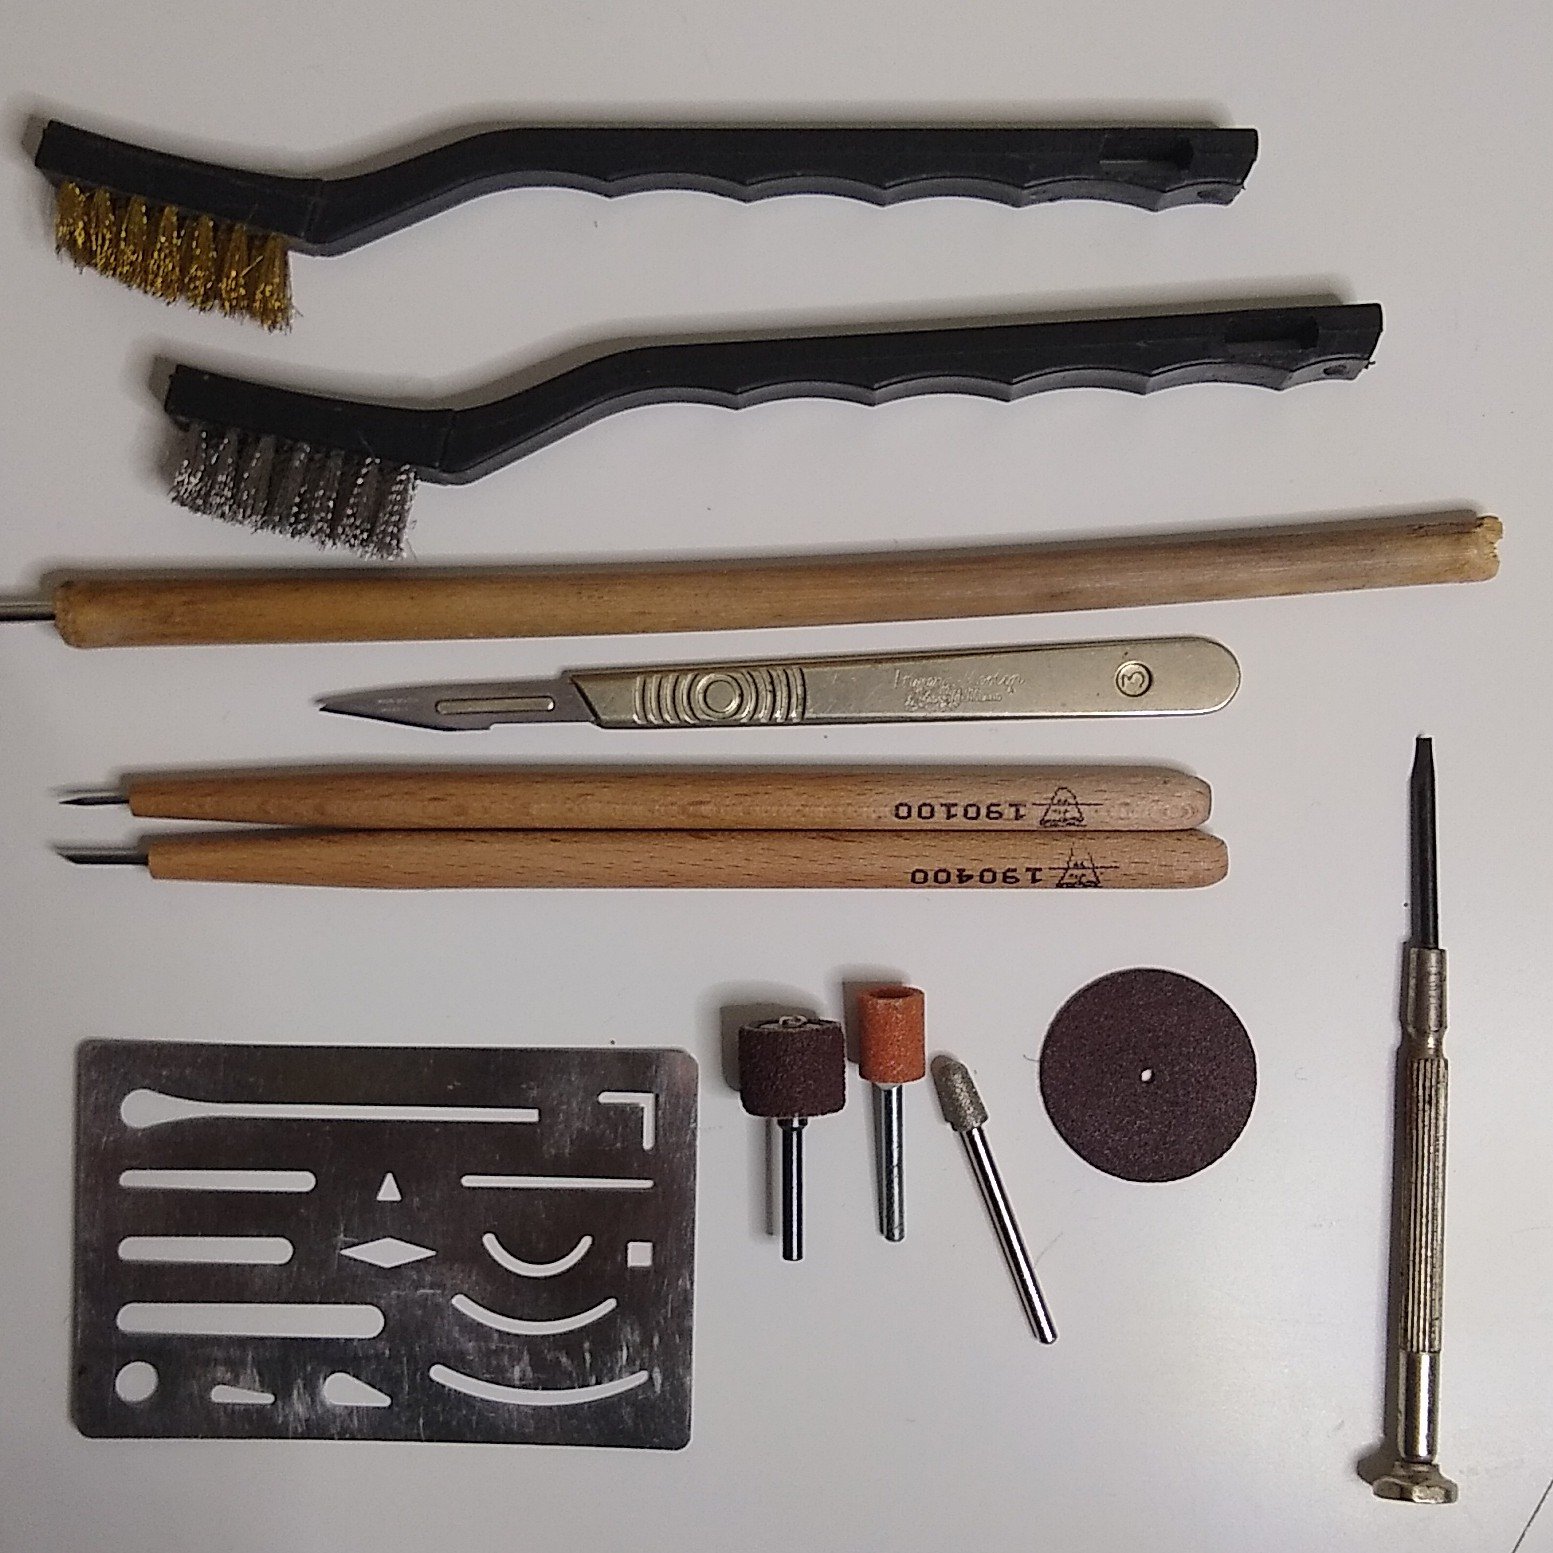
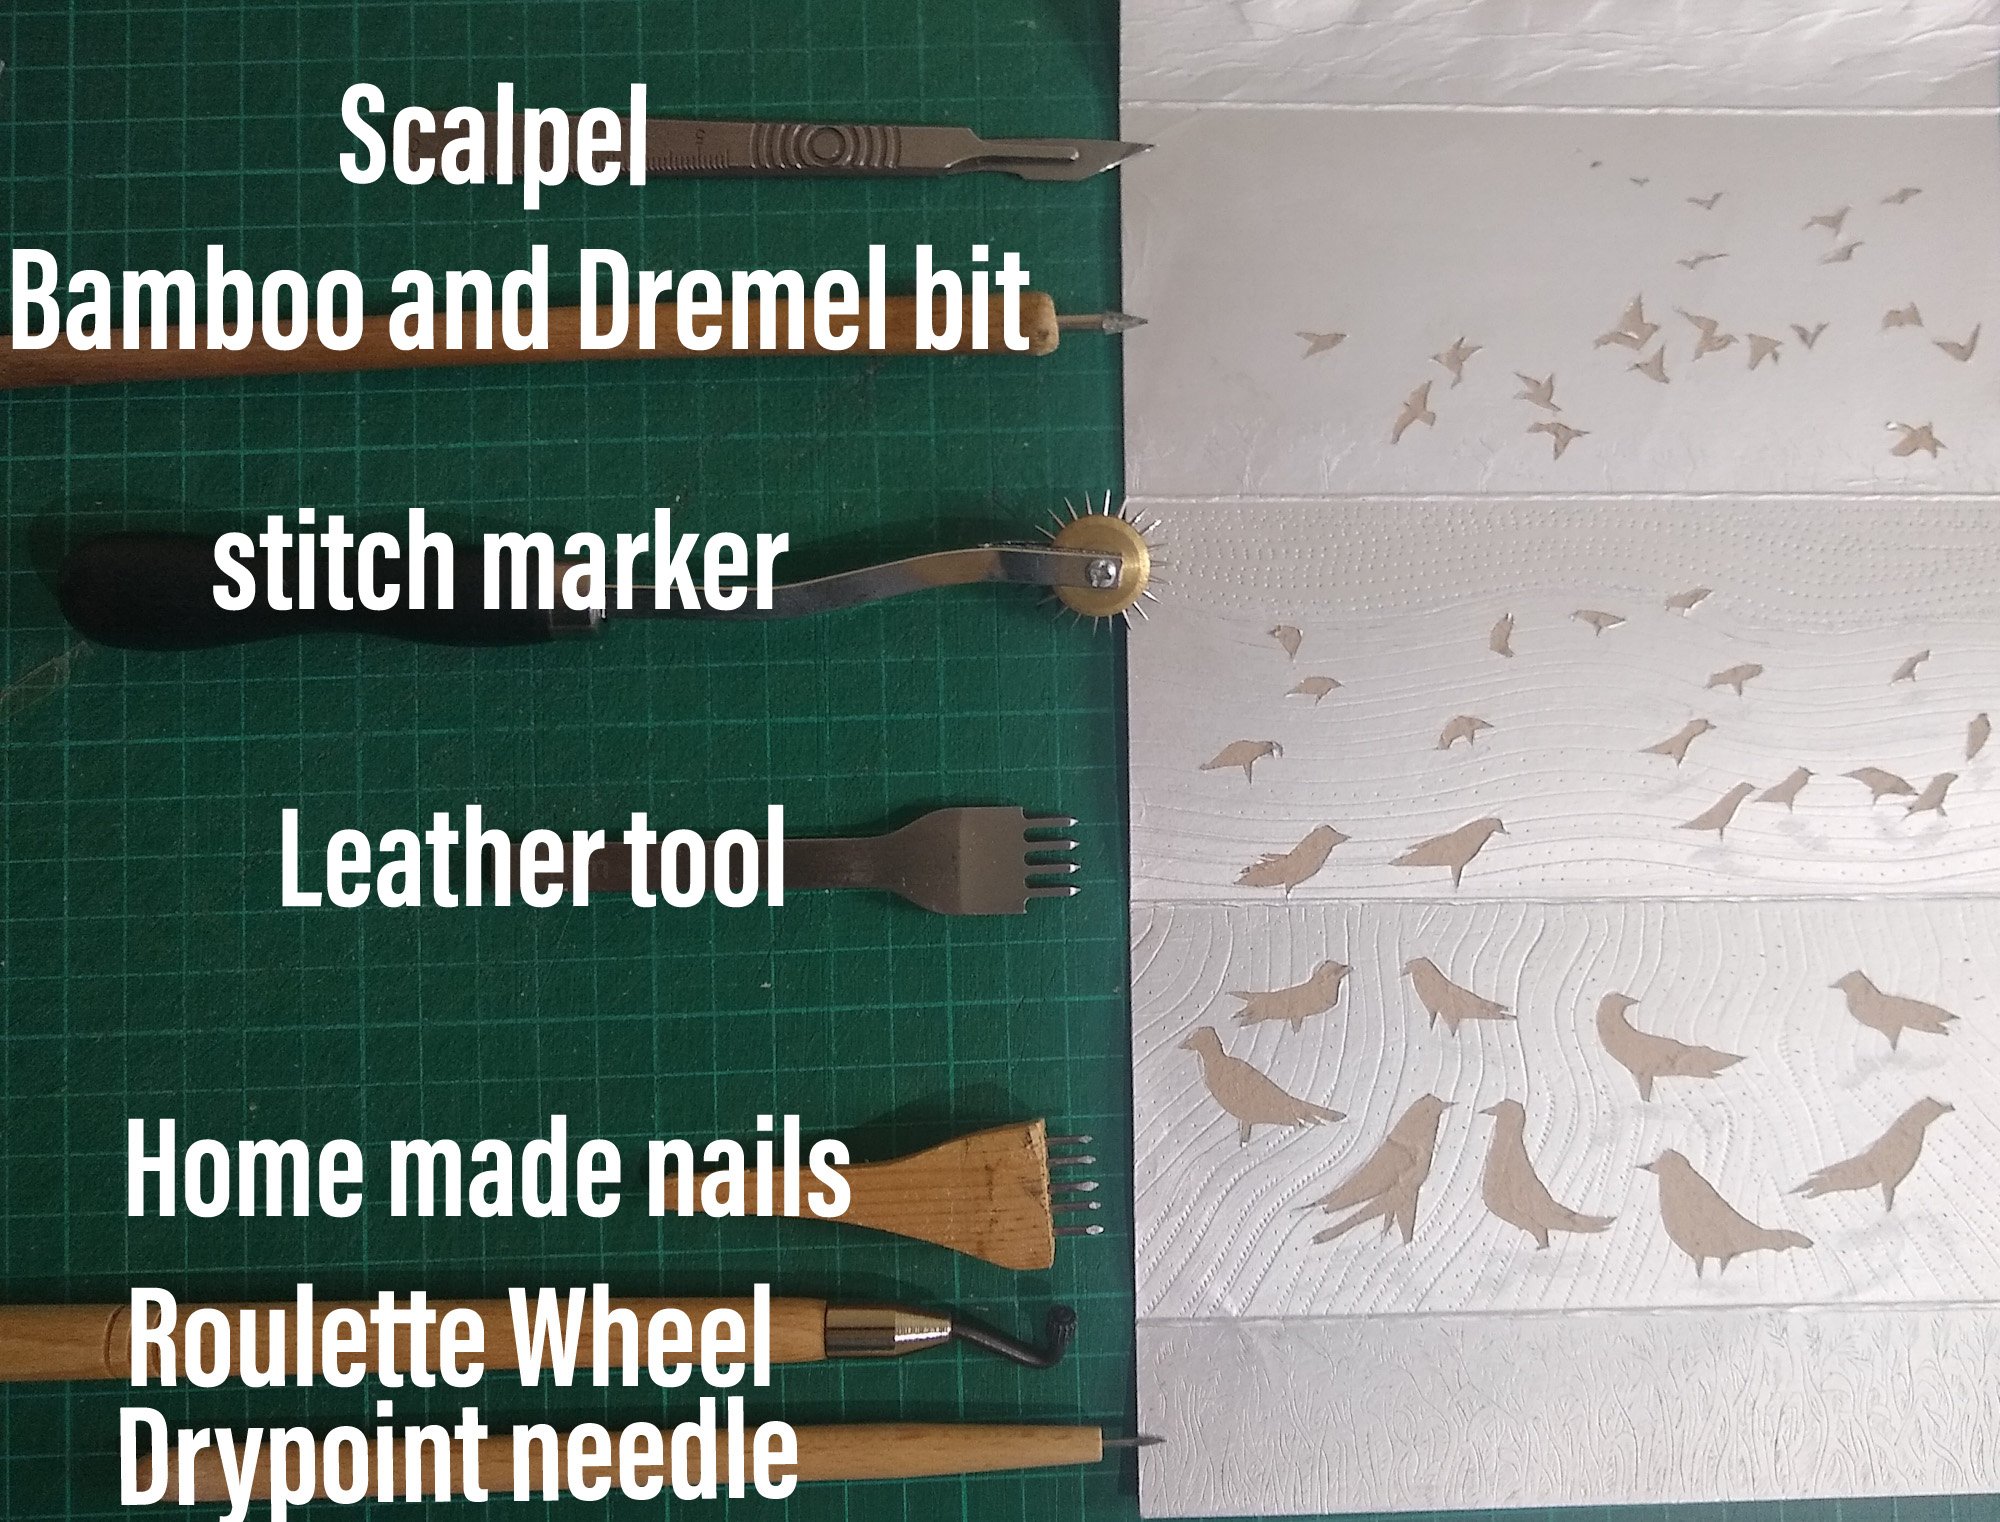
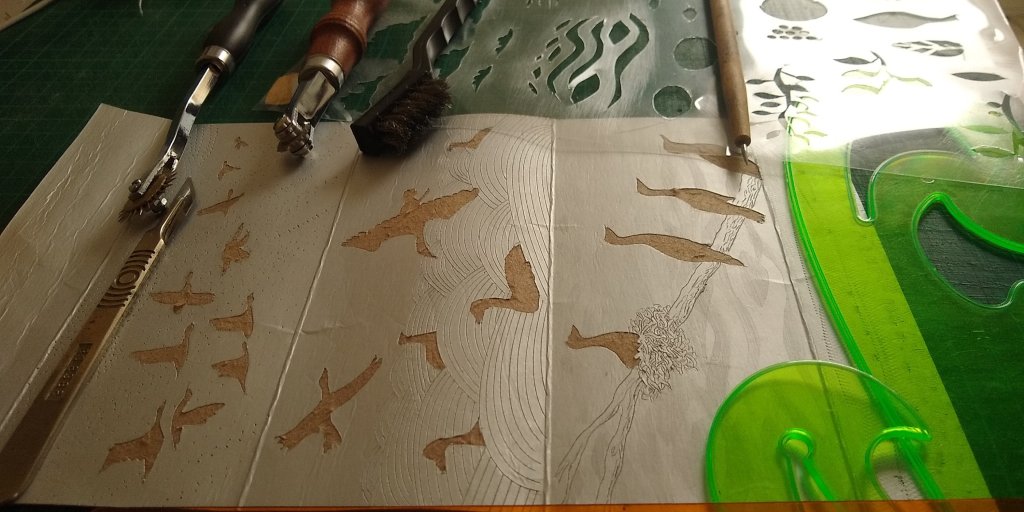
Looking at tools. I started with a dry point needle. Then I tried a wire brush and masking tape. Then other tools like pastry cutter, roulette wheel, leather tool, stitching marker, screwdriver, and Dremel bits all of them will leave a mark that the ink will sit in.
Cutting
The scalpel is a useful tool as you can cut out the silver foil away to reveal the card below. To give you darker areas this will turn your print from drypoint to a collagraph print. I don’t seal the plate as i like the card to be absorbent so the ink will soak in to it

Paper
I soak the paper using a wet pack for about 15min. I also possable to use a water bath and soak for 5min and use a towel to take the excess water off I use 300 gsm Snowdon paper as it dries flat under a stack of books. I find the thinner paper harder to flatten. Don’t leave the paper in too long in the wet pack if you leave it more than 1 day will go mouldy. I have heard of people put in the fridge or freezer to stop this. The paper wants to be damp and flexible but not wet.

Inking process
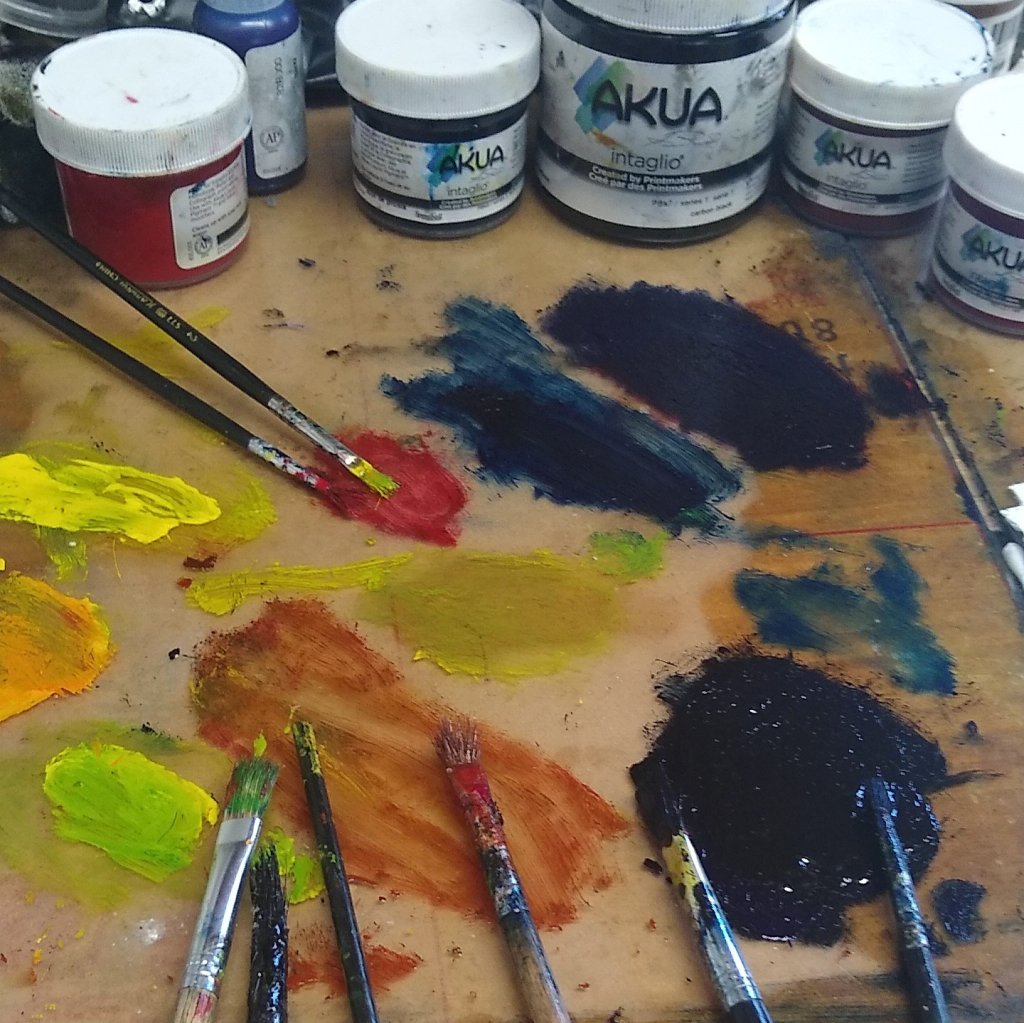
I currently use Auka intaglio soy based ink. Which is easy to use and they stay open a long time on the mixing sheet. Which means I can print a few and print a few the next day or even next week. I start with the darker colours like lamp , carbon black or Prussia blue. Rubbing it into the marks using tooth brush or a cheap paint brush. Wiping it off using scrim or kitchen roll or newspaper these will all give you different effects Then rubbing on lighter colour then wiping off ,until the desired colours reach. If you want to add any highlights you can use cotton buds to wipe off more ink.
Printing
Printing is possible by hand but it is much easier with a press . I use a small die cut press xcut with a nylon base and a felt on top. I use a thin piece of paper underneath and on top to protect the base and felt. The xcut is adjustable but some time you can add more paper on top to fine tune the pressure on your print.

Look at your print and decide if you need to add anything to the plate or just adjust the colours
Drying
Two ways you can do it. Tape it to a board and leave it to dry but need lots of board and space this method works well if you have embossing on print. Or leave it to dry for a day, then place it between card and blotting paper to make a big sandwich then pile books on top and leave for a week to dry
Trim to size edition title and sign

Leave a reply to Faranak Cancel reply